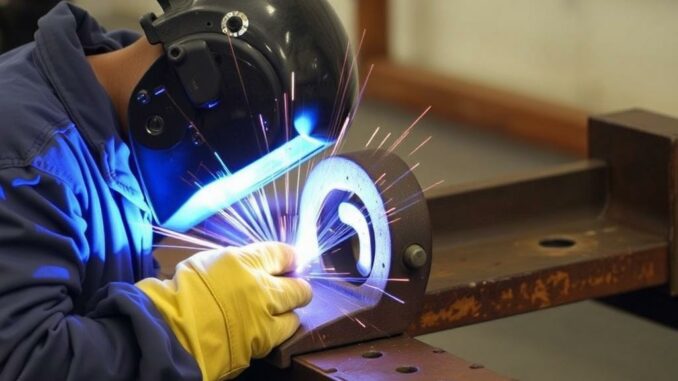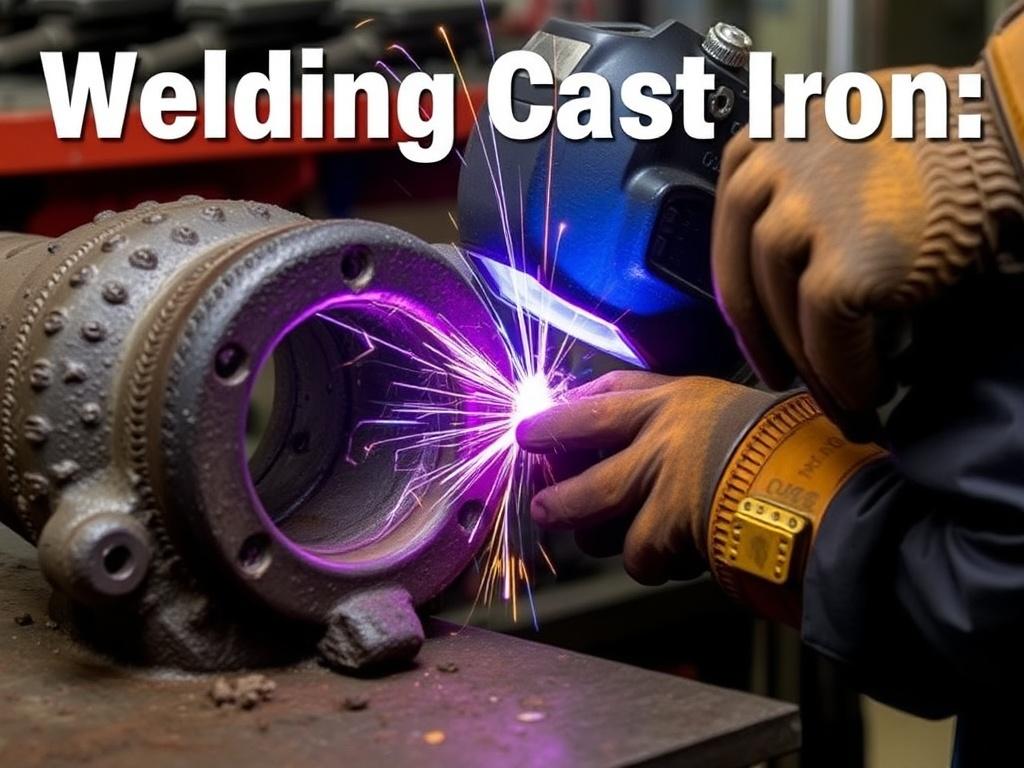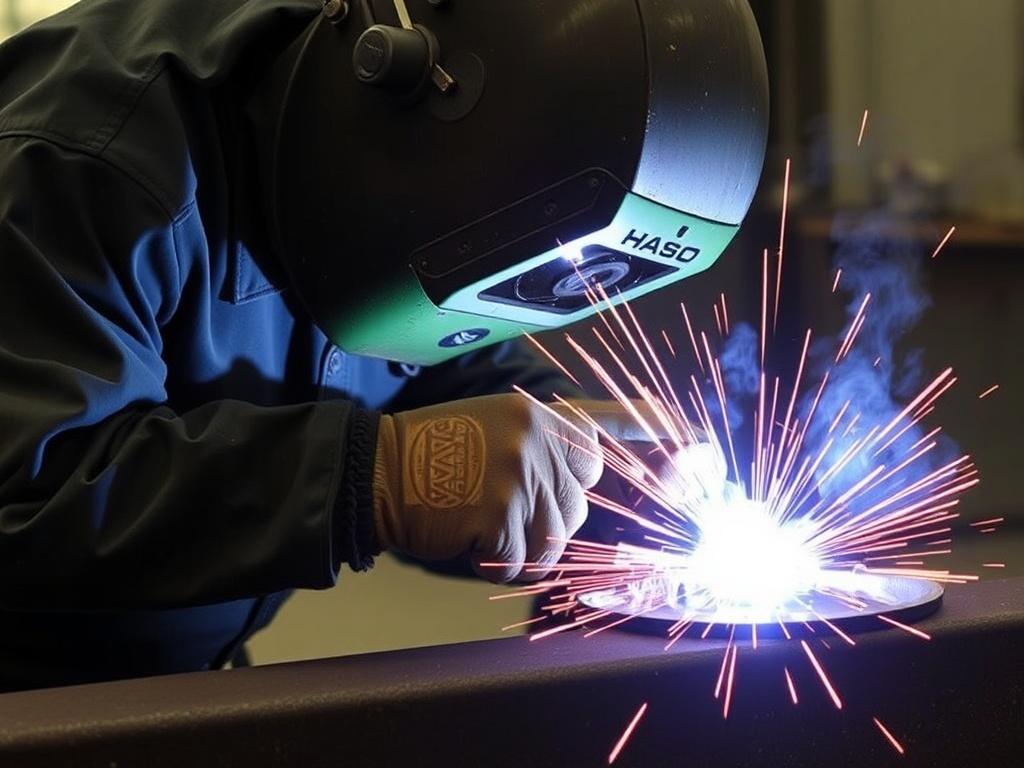
Welding cast iron is often considered a challenging task in the metalworking world, primarily due to its unique properties and susceptibility to cracking. Whether you’re a seasoned metalworker or a DIY enthusiast, dealing with cast iron repair or fabrication requires a deep understanding of the right techniques to prevent cracking and ensure a strong, lasting joint. In this comprehensive article, we will explore everything you need to know about welding cast iron, including types of cast iron, common problems, welding methods, preparation tips, and post-weld treatments.
If you’ve ever tackled repairing a cast iron pipe, machine part, or cookware, you’ve probably discovered how brittle this metal can be after welding if the right techniques aren’t applied. This article will guide you step-by-step through the best practices to minimize stress, avoid cracks, and achieve professional-level results. By the end, you’ll feel confident in your ability to weld cast iron with improved success and avoid the pitfalls that commonly plague this fascinating but tricky metal.
Understanding Cast Iron: What Makes It Special?
Before diving into welding techniques, it’s crucial to understand the material itself. Cast iron is an alloy primarily made of iron, carbon (usually 2-4%), and silicon. Its unique microstructure often contains graphite flakes or nodules distributed throughout the iron matrix, which significantly impacts its mechanical properties.
There are several types of cast iron, including:
- Gray Cast Iron: Contains graphite flakes, making it brittle but excellent at damping vibrations.
- Ductile (Nodular) Cast Iron: Contains spherical graphite nodules providing more ductility and toughness.
- White Cast Iron: Characterized by a hard, brittle structure with iron carbides.
- Malleable Cast Iron: Heat treated white cast iron resulting in improved ductility.
Each type of cast iron behaves differently during welding. Gray cast iron, the most common, is notorious for cracking because of the graphite flakes acting as stress concentrators within the weld area. Ductile iron performs better in welds due to its more fibrous graphite structure. Understanding these distinctions is the foundation to choosing the correct welding approach and preventing unwanted cracks.
The Main Challenges of Welding Cast Iron
So, why is welding cast iron so problematic? The main reason comes down to its high carbon content and thermal properties. When heated and cooled rapidly during welding, cast iron undergoes uneven expansion and contraction, leading to residual stresses. These residual stresses create cracks, either during welding (hot cracking) or after cooling (cold cracking).
Additionally, the graphite inclusions in cast iron don’t melt, causing a heterogeneous weld zone prone to defects. The brittle nature of cast iron near the weld joint means that any imperfections can propagate cracks quickly, compromising the repair or part strength.
To put it plainly, imagine trying to glue together pieces of glass with different expansion rates: the joint is much more likely to break under stress. Welded cast iron must be approached with care, control, and specific techniques to reduce these stresses and produce a sound joint.
Preparing Cast Iron for Welding: The First Step to Success
Preparation is vital to a crack-free weld. Before striking an arc or firing up a torch, your cast iron parts need meticulous cleaning and pre-treatment. Here’s where many welders make costly mistakes, so let’s break down the key preparation steps.
Cleaning the Weld Area
Any contaminants such as oil, rust, grease, paint, or dirt can cause weld defects and increase cracking risks. Begin by thoroughly cleaning the surface using mechanical and chemical methods:
- Degreasing: Use solvents like acetone or lacquer thinner to remove oil and grease.
- Grinding: Grind the weld area lightly to remove rust, paint, and oxides and expose clean metal.
- Brushing: Utilize a stainless steel wire brush specifically for cleaning cast iron to avoid contamination.
By ensuring a clean, bare metal surface, you allow the filler and base metals to bond properly without impurities weakening the joint.
Preheating Cast Iron
One of the most crucial techniques to prevent cracking is preheating the cast iron before welding. Preheating reduces the thermal gradient between the weld zone and the rest of the part, minimizing thermal stress.
Here’s how preheating helps:
- Slows down the cooling rate, reducing the chance of hard and brittle microstructures forming
- Allows more uniform expansion
- Reduces the risk of thermal shock that creates cracks
General guidelines suggest preheating cast iron to about 500°F to 1200°F (260°C to 650°C) depending on the thickness and type of cast iron. Thicker sections require higher preheat temperatures.
It’s important to use a controlled heat source, such as an oxy-acetylene torch or induction heater. A uniformly heated part produces the best results – avoid localized overheating or uneven temperatures.
Joint Design and Fit-Up
Proper joint design can significantly impact your success rate when welding cast iron. Unlike welding steel, where tight fits are critical, cast iron welding benefits from slightly looser fits to reduce stress.
Consider these tips:
- Gap allowance: Leave a small gap between parts to allow filler metal to fill properly and reduce shrinkage stress.
- Chamfer edges: Use a grinder to bevel edges for better penetration and smoother welding.
- Use clamps or fixtures: Ensure parts are securely held to resist distortion during welding.
Good fit-up also helps the welder maintain the correct angle and speed, which are key for sound welds.
Choosing the Right Welding Method for Cast Iron Repairs

There are several welding methods applicable to cast iron, each with benefits and drawbacks. The method you choose will depend on the specific project, equipment available, and desired weld quality.
Shielded Metal Arc Welding (SMAW) – Stick Welding
SMAW is one of the most popular and accessible methods for welding cast iron. It uses specialized electrodes designed for cast iron, such as nickel-based rods, which offer improved ductility and crack resistance.
Advantages of SMAW include:
- Portability
- Low cost
- Ease of use in outdoor or remote environments
Best practices for SMAW on cast iron:
- Use nickel or nickel-iron electrodes (e.g., ENiFe-CI rods) for improved mechanical properties
- Maintain a short arc length and low amperage to control heat input
- Weld in short passes with intermittent cooling to avoid overheating
Tungsten Inert Gas (TIG) Welding
TIG welding is known for producing cleaner, more precise welds, which can be beneficial when working with cast iron’s sensitive structure.
Key benefits of TIG welding include:
- Better control over heat input and bead shape
- Ability to use various filler metals, including nickel rods
- Cleaner welds with less post-weld cleaning
The downsides are a higher equipment cost and relatively more complexity in operation, which requires skilled welders.
Metal Inert Gas (MIG) Welding
MIG welding is less common for cast iron but can be useful in certain scenarios. The main challenge is selecting the correct wire metals and parameters that reduce cracking risks.
For cast iron, nickel wire is the preferred filler. However, MIG welding cast iron requires precise control to avoid overheating and porosity.
Brazing: An Alternative to Traditional Welding
When welding seems too risky, brazing cast iron can be a practical alternative. Brazing joins cast iron parts without melting the base metal, reducing thermal stress significantly.
Brazing materials like copper-phosphorus alloys are heated to just above 1100°F (593°C) and flow into the joint via capillary action.
Key benefits:
- Lower temperature process, less distortion and cracking
- Suitable for non-structural repairs and fine castings
However, brazed joints do not have the same strength as welded ones, so suitability depends on application.
Filler Metals for Welding Cast Iron: Choosing the Best Materials

The choice of filler metal profoundly affects the weld quality and crack resistance. Generic steel electrodes should be avoided since they cool to hard, brittle microstructures that lead to cracking.
Preferred filler metals for cast iron include:
| Filler Metal Type | Composition | Recommended Applications | Benefits |
|---|---|---|---|
| Nickel Electrodes (ENi-CI) | 99% Nickel | Gray cast iron with cracks | Excellent ductility and crack resistance |
| Nickel-Iron Electrodes (ENiFe-CI) | Nickel + Iron (12-15%) | Gray and ductile cast iron, general repair | Good ductility; stronger welds with less hardening |
| Nickel-Copper Electrodes | Nickel with copper additions | Ductile iron and malleable iron | Improved toughness, corrosion resistance |
| Cast Iron Rods for TIG | Similar to above compositions | Precision TIG welding repairs | Controlled weld deposits with good fusion |
Using these specialized fillers helps accommodate the inherent differences in cast iron and prevents brittle weld zones.
Welding Techniques to Minimize Cracking

Control Your Heat Input
Managing heat input is one of the most critical techniques to prevent cracking in cast iron welding. Too much heat causes excessive expansion; too little results in poor fusion and hard welds.
Tips to control heat include:
- Welding with low amperage settings
- Short weld beads with intermittent cooling periods
- Using multiple passes carefully balanced to avoid overheating
Use Peening to Relieve Stress
Peening is a technique where you gently hammer the weld bead while it’s still warm, relaxing residual stresses in the weld zone.
This method helps prevent crack formation from shrinkage forces and improves weld ductility. It’s commonly used with cast iron SMAW welding but requires care not to over-peen and damage the joint.
Post Weld Heat Treatment (PWHT)
After welding, controlled slow cooling is essential. Rapid cooling causes cold cracking due to high residual stresses and hard microstructures.
Methods for post weld heat treatment:
- Hold the part at a temperature of around 300°F to 500°F (150°C to 260°C) for several hours
- Alternatively, bury the weld area in insulating materials such as sand or kiln powder to slow cooling
- Use a furnace if available for uniform heat treatment
PWHT helps the weld and heat-affected zone relax and stabilize, improving strength and minimizing cracks.
Practical Tips and Common Mistakes to Avoid
Everyone makes mistakes when welding cast iron, especially beginners. Here are some important tips and pitfalls to keep in mind for better results:
Common Mistakes
- Not preheating properly or uneven preheating
- Using the wrong filler metal
- Excessive heat from long weld beads or weaving
- Poor joint fit-up creating high stress points
- Rapid cooling without post weld heat treatment
- Skipping cleaning steps leading to contamination
Helpful Tips
- Practice on scrap cast iron pieces before weld repairs
- Always preheat thick and critical parts
- Use nickel-based rods as a default filler
- Keep welding speed moderate to control heat input
- Test your cleaning methods for effectiveness
- Allow slow cooling and consider post weld heat treatments
Step-By-Step Guide: Welding Cast Iron With SMAW
To bring everything together, here’s a step-by-step guide summarizing how to weld cast iron using the popular SMAW method, incorporating key preventive measures to avoid cracking.
- Clean the weld area: Remove all contaminants by grinding and degreasing.
- Preheat the part: Use a torch to uniformly preheat the workpiece to 600°F (315°C) or more depending on thickness.
- Choose your electrode: Select a nickel or nickel-iron rod suitable for the cast iron type.
- Clamp and fit up: Align parts with a small gap and secure firmly.
- Set weld parameters: Use low amperage and keep a tight arc length.
- Weld in short passes: Avoid long beads; lay small, controlled welds.
- Peen the weld bead immediately: Use gentle hammer blows to relieve stress.
- Allow for slow cooling: Keep the part warm using blankets, sand, or kiln powder.
- Perform post weld heat treatment: Reheat and hold between 300°F and 500°F if possible.
- Finish and inspect: Grind welds smooth if needed and check for cracks.
Conclusion: Mastering the Art of Welding Cast Iron
Welding cast iron may appear daunting, but with the right knowledge and techniques, it can be accomplished reliably without cracking or failure. The core principles are understanding the material properties, preparing meticulously, controlling heat, selecting appropriate filler metals, and performing suitable preheat and post weld treatments.
Whether you’re fixing a cracked engine block, restoring antique cookware, or repairing a cast iron pipe, take your time, work patiently, and follow the tried-and-true methods outlined above. With practice, patience, and attention to detail, you’ll turn cast iron welding challenges into opportunities for creating strong, durable, and lasting repairs.
Happy welding!
