Welding is one of the most essential skills in metalworking, offering the ability to join pieces of metal into strong, permanent connections. However, it’s not always as simple as it sounds. Among the various welding positions, vertical welding stands out as one of the more challenging yet incredibly rewarding techniques. Whether you’re a beginner looking to improve or a seasoned welder aiming for cleaner, more durable joints, understanding the nuances of vertical welding is crucial.
In this article, you’ll find everything you need to know about vertical welding, including practical tips for strong and clean joints that will elevate your work. We’ll explore the basics, techniques, common mistakes, safety guidelines, and tools. Plus, you’ll find tables and lists to organize key information effectively.
What is Vertical Welding?
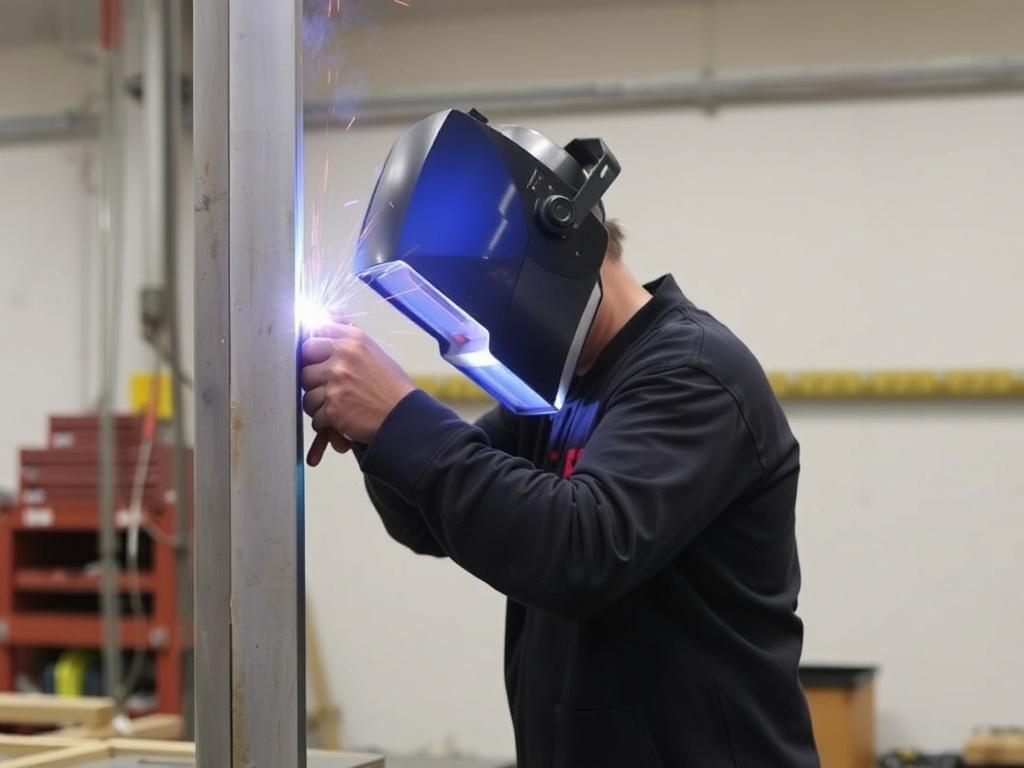
Before diving into techniques, let’s understand what vertical welding actually refers to. In welding, the position of the joint plays a significant role in the difficulty level and method used. Vertical welding specifically involves making welds on surfaces that are oriented vertically—in other words, perpendicular to the horizontal ground or flat plane.
This position requires the welder to control the molten metal carefully, preventing it from running down or dripping due to gravity. The weld can proceed in an upward or downward direction, each with its own advantages and challenges.
Vertical Welding Positions: Vertical Up vs. Vertical Down
Within vertical welding, there are two main sub-positions:
- Vertical Up: The welding torch moves upward, starting from the bottom of the joint and proceeding to the top.
- Vertical Down: The torch moves downward, from the top of the joint to the bottom.
Vertical up welding tends to produce stronger joints and deeper penetration, which is important for thick or structural metals. However, it moves slower and requires more skill to execute properly.
Vertical down welding, on the other hand, is faster and easier but often produces shallower penetration, making it suitable for thinner metal sheets.
The Importance of Vertical Welding in Industry
Vertical welding is common in construction, shipbuilding, pipeline fabrication, and repair work. It is often necessary because many joints cannot be rotated or positioned flat for easier welding. Being proficient in vertical welding opens up more opportunities and enables welders to work on complex projects.
Moreover, vertical welding is vital for maintaining structural integrity in critical applications, where strong and clean joints prevent accidents and material failures.
Challenges Unique to Vertical Welding
Why is vertical welding considered more difficult than flat or horizontal welding? The primary reason lies in gravity’s effect on molten weld metal and slag. In vertical welding:
- Molten metal tends to sag, drip, or fall down, which can cause defects such as uneven weld beads or lack of fusion.
- The welder must carefully control the torch angle, travel speed, and electrode manipulation to keep weld puddle stable.
- Vertical welding often demands better dexterity and focus, as mistakes are more visible and harder to fix.
Understanding and overcoming these challenges is central to producing high-quality welds in the vertical position.
Essential Equipment and Preparations for Vertical Welding
Before you pick up a welding machine and get started, proper preparation and the right equipment are critical to success. Here’s what you need to consider:
1. Welding Power Source
The type of welding process you choose impacts your equipment needs. Vertical welding commonly uses:
- MIG Welding (GMAW): Known for smoother welds and less spatter, suitable for thin to medium metals.
- TIG Welding (GTAW): Offers precise control ideal for clean welds on thinner metals or detailed work.
- Stick Welding (SMAW): Versatile and effective on thick materials but requires good technique to avoid slag inclusions.
2. Electrode or Filler Material
Choosing the correct filler material is crucial. It should be compatible with the base metal and designed for vertical welding if possible. The electrode size and type also impact how easily the molten metal behaves in the vertical position.
3. Safety Gear
Never compromise on safety. Essential PPE (Personal Protective Equipment) includes:
- Welding helmet with the proper shade.
- Flame-resistant clothing and gloves.
- Safety boots and ear protection.
- A respirator if working in confined or poorly ventilated spaces.
4. Joint Preparation
Clean, well-fitted joints promote better penetration and reduce defects. Remove rust, mill scale, oil, and dirt. For vertical welding, a proper bevel angle between 30° and 45° is common on thicker materials.
Techniques for Vertical Welding: Step by Step
Let’s break down the vertical welding procedure into manageable steps. These tips work across different welding methods, although specific parameter settings may vary.
1. Setting Up Your Torch and Position
Keep the welding torch at approximately 45° to the workpiece, pointing slightly upward in vertical-up welding and downward for vertical-down. Proper angle control helps direct the weld puddle and minimizes spatter.
2. Adjusting Welding Parameters
| Parameter | Vertical Up Welding | Vertical Down Welding |
|---|---|---|
| Voltage | Medium to High | Low to Medium |
| Current | Lower than flat welding | Higher than vertical up |
| Travel Speed | Slower | Faster |
| Electrode Angle | 45° upwards | 45° downwards |
These parameters influence bead shape, penetration, and weld integrity.
3. Maintaining a Steady Puddle
The weld puddle in vertical welding is more prone to dripping. Use a weaving or zigzag technique to keep the puddle compact and control heat input. Avoid lingering too long in one spot to prevent burn-through.
4. Controlling Slag and Spatter
In stick welding, remove slag between passes to avoid inclusions. MIG and TIG welding typically produce less slag but still require attention to spatter management.
5. Multiple Pass Welding
Thicker materials will need several layers or passes. Each pass should be clean, with a slight bevel and no contamination, to ensure weld strength.
Common Mistakes to Avoid in Vertical Welding
Even experienced welders encounter challenges with vertical welding. Being aware of common errors can save time and improve quality. Here are some pitfalls:
- Excessive heat input: Causes flat or sagging beads.
- Moving too fast: Leads to weak fusion and poor penetration.
- Poor torch angle: Allows molten metal to flow downward uncontrollably.
- Skipping joint preparation: Results in contamination and weld defects.
- Inadequate shielding gas coverage: Causes porosity and oxidation.
How to Inspect Vertical Welds for Quality
Quality control is an important part of welding. For vertical welds, visual inspection comes first. Check for:
- Even bead width and height.
- Absence of cracks or craters.
- Proper penetration and fusion with base metal.
- No slag inclusions or porosity.
- Consistent weld pattern without undercuts.
Non-destructive testing (NDT) methods, such as ultrasonic or radiographic inspection, might be necessary for critical applications.
Tips for Beginners: Getting Started With Vertical Welding

If you’re new to vertical welding, don’t be discouraged by the initial difficulty. Here’s some advice to get your feet wet:
- Practice on scrap metal: Try vertical beads on test pieces before applying to real projects.
- Master electrode manipulation: Keep a consistent travel speed and angle.
- Watch videos and tutorials: Visual learning helps understand hand movements and torch positioning.
- Ask for feedback: Experienced welders can offer valuable pointers.
- Stay patient and persistent: Vertical welding skills improve with practice.
Summary: Key Takeaways for Successful Vertical Welding
| Aspect | Advice |
|---|---|
| Welding Position | Vertical welding is performed perpendicular to the ground, with vertical up or down methods. |
| Equipment | Choose appropriate welding process, electrode, and safety gear tailored for vertical work. |
| Technique | Control torch angle (~45°), travel speed, and maintain steady weld puddle with weaving if needed. |
| Common Mistakes | Avoid excessive heat, inconsistent travel speed, and poor preparation. |
| Practice | Regularly practice on scrap metal and continually refine technique. |
Further Learning and Resources
Vertical welding is both an art and a science. To perfect your skills, consider exploring professional welding courses, certification programs, and online workshops. Organizations like the American Welding Society (AWS) offer excellent resources to improve your welding knowledge.
Additionally, forums and welding communities provide peer support and troubleshooting advice. Engaging with other welders can speed up your learning curve.
Conclusion

Vertical welding is a vital and challenging skill for any welder who seeks to produce strong and clean joints. Understanding the unique difficulties, adopting the right techniques, and practicing diligently will help you master this welding position. Remember that patience and attention to detail are your greatest tools, alongside quality equipment and safety measures.
Whether you plan to use vertical welding for structural projects, artistic metalwork, or hobbyist tasks, these tips and insights will guide you to better welds and greater confidence. So, gear up, stay safe, and enjoy the rewarding process of creating durable, beautiful metal joints in the vertical position!
