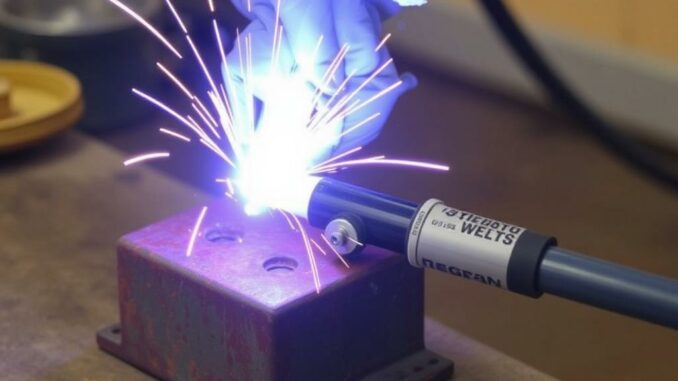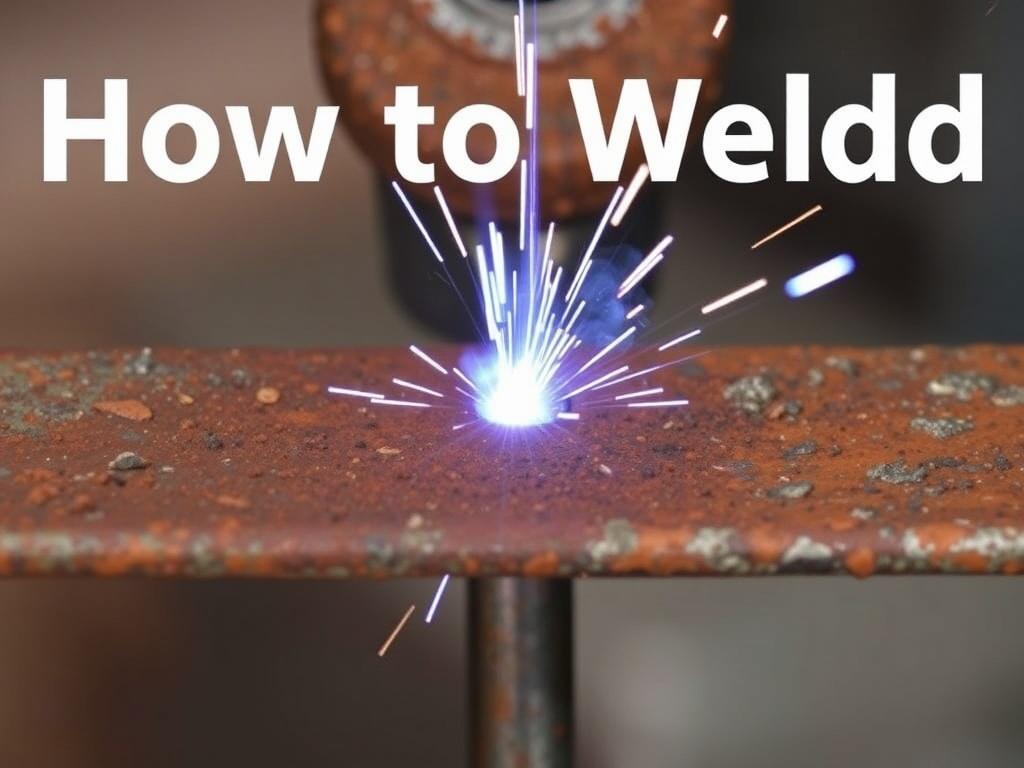
Welding is both an art and a science, and mastering it requires understanding not just the techniques but also the materials you’re working with. One of the most common challenges faced by welders—whether they’re professionals or hobbyists—is dealing with rusty or dirty metal surfaces. It’s a situation that often happens on the job, especially in outdoor environments or when working with older equipment, scrap metal, or salvaged pieces.
If you’ve ever wondered how to weld over rusty or dirty metal, you’re in the right place. This article dives deep into everything you need to know: why rust and dirt can be problematic, the risks involved, the best preparation methods, and practical welding techniques that will help you achieve strong, durable welds—even when the metal isn’t pristine. You’ll also find useful tips, safety advice, and troubleshooting recommendations.
Why Does Rust and Dirt Matter When Welding?

Before you pick up your welding torch or machine, it’s important to understand what rust and dirt actually do to the metal surface and to the welding process as a whole. At first glance, it might seem like a minor inconvenience—after all, some rust or dirt isn’t a massive barrier, right? But in reality, welding over rusty or dirty metal can make a big difference in the quality and safety of your weld.
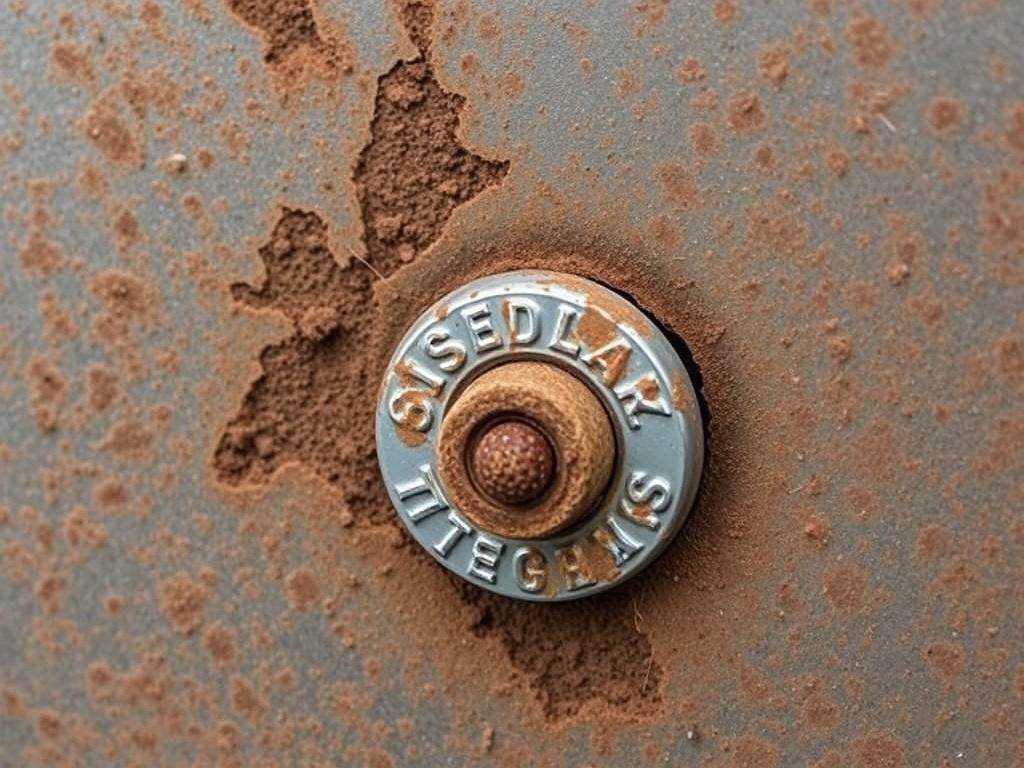
Rust is a form of iron oxide—a chemical compound that forms when iron reacts with oxygen and moisture. This material is brittle and flaky, which means it doesn’t melt or fuse well during welding. Instead, it can create weak spots, holes, and contaminations in the weld metal, leading to poor structural integrity.
Dirt and grease are contaminants that act similarly. They can produce toxic fumes when heated, cause porosity (tiny holes) in the weld bead, and reduce the consistency and appearance of your weld. Welding over dirty or rusty metal might work in a pinch, but the results won’t hold up well under stress or over time.
The Effects of Rust and Dirt on Weld Quality
Let’s list the specific ways rust and dirt can negatively affect your welds:
- Contamination: Rust and dirt introduce foreign materials into the weld pool, leading to inclusions or slag impurities.
- Poor fusion: The weld metal may not properly fuse with the base metal, resulting in weak joints.
- Pores and cracks: Gases from contaminants can cause porosity and cracking during solidification.
- Unstable arc: Dirt and rust can interfere with the electrical conductivity necessary for a stable welding arc.
- Health hazards: Welding over dirty surfaces can release hazardous fumes harmful to health.
Understanding these effects will motivate you to properly prepare your metal surfaces before welding, even when working under tight deadlines or challenging conditions.
Tools and Materials You’ll Need to Weld Over Rusty or Dirty Metal
Now that you know why surface preparation is so crucial, you might wonder what tools and materials can help you address rusty or dirty metal before you weld. Having the right equipment not only makes your job easier but also ensures that the weld you produce is safe and durable.
Here’s a comprehensive list of tools and materials commonly used for cleaning and welding over less-than-perfect metal surfaces:
| Tool/Material | Purpose | Notes |
|---|---|---|
| Angle Grinder with Wire Brush Wheel | Remove rust, scale, and dirt mechanically | Wear eye protection; effective for large areas |
| Chipping Hammer | Scrape off loose rust and slag before and after welding | Good for targeted areas |
| Sandpaper or Emery Cloth | Fine cleaning and polishing of the weld area | Useful for small or delicate surfaces |
| Chemical Rust Remover | Break down rust chemically before welding | Follow safety instructions; can be corrosive |
| Degreaser or Acetone | Remove oils, grease, and other lubricants | Evaporates quickly; use in well-ventilated space |
| Welding Machine (MIG, TIG, Stick) | The primary equipment for performing the weld | Some processes handle rusty metal better than others |
| Protective Gear (Helmet, Gloves, Jacket) | Ensure your safety during grinding and welding | Never compromise; welding fumes and sparks are dangerous |
Using these tools consistently and properly will improve your ability to weld over rusty or dirty metal effectively.
Step-by-Step: How to Prepare Rusty or Dirty Metal for Welding
Preparation is often the single most important factor when welding, especially over rusty or dirty materials. While some metal surfaces may look okay to weld as-is, ignoring surface contaminants can sabotage your entire project. Here’s a simple, clear process you can follow to get your metal ready:
1. Assess the Metal Surface
Start by carefully inspecting the metal. Is the rust flaky and thick, or just a thin surface layer? Is the dirt greasy or just dusty? Understanding the nature of your surface will help determine how much preparation is needed.
2. Remove Loose Rust and Scale
Use a wire brush, angle grinder, or chipping hammer to remove loose rust and scale. This mechanical cleaning helps expose more solid base metal for a better weld.
3. Apply Chemical Rust Remover (Optional)
If the rust is substantial but you want to avoid heavy grinding, applying a rust remover can help dissolve the oxides. Be sure to follow the manufacturer’s instructions and clean off the residues completely afterward.
4. Degrease the Surface
Before welding, the surface must be free of grease, oil, or any other substances that could burn or produce harmful fumes. Use acetone or a dedicated degreaser applied with a clean rag.
5. Final Surface Cleanup
Use sandpaper or an emery cloth to give the weld area a fine polish. This step removes any remaining contaminants and roughens the surface slightly, which can improve weld adhesion.
Following this preparation routine will improve the weld quality dramatically and reduce common problems like porosity and cracking.
Techniques to Weld Over Rusty or Dirty Metal Successfully

Despite all preparation, you might still find yourself needing to weld over metal that is not perfectly clean—especially in fieldwork, emergency repairs, or scrap projects. While it’s generally best to clean thoroughly, some welding methods and techniques are better suited to handle less-than-ideal metal surfaces.
MIG Welding Over Rust and Dirt
MIG (Metal Inert Gas) welding is a popular and versatile method. Its constant feed of wire and shielding gas helps produce clean welds faster, but MIG welding is sensitive to contaminants. However, with proper technique and a little patience, you can weld over mildly rusty or dirty metal.
Tips for MIG welding on rusty surfaces:
- Use a slightly higher amperage to burn through surface rust.
- Maintain a steady travel speed to avoid slag inclusion.
- Try to keep the weld bead small and controlled to reduce porosity.
Stick Welding (SMAW) for Rusty Metal
Stick welding is often preferred when working outdoors or dealing with dirty or rusty surfaces because of its tolerance for impurities. The flux coating on the stick electrode helps protect the weld from oxygen and contaminants.
Key points for stick welding over rusty or dirty metal:
- Select electrodes designed for dirty or rusty metals—for example, E6010 or E7018 rods.
- Check your amperage settings carefully to avoid undercutting or slag inclusions.
- Clean the slag between passes with a chipping hammer to expose a fresh weld bead.
TIG Welding and Clean Surfaces
TIG (Tungsten Inert Gas) welding produces the highest quality welds but requires the cleanest metal surfaces. TIG welding over rusty or dirty metal is generally not recommended because even slight contaminants can cause severe porosity and weak welds. If rust or dirt cannot be removed, consider other welding methods.
Practical Tips and Tricks for Better Welds on Rusty or Dirty Metal
No two welding projects are the same, and experience teaches many practical tips that improve results when dealing with rusty or dirty metal. Here are some essential nuggets of wisdom that every welder should know:
Use Longer Stickout Length
Extending the stickout length—the distance between the welding torch and the contact tip—helps increase the temperature slightly and burn through contaminants better. However, don’t go too far as it can destabilize the arc.
Feed the Weld Pool Slowly and Steadily
Going too fast risks trapping rust or dirt into the weld, causing defects. Slow, controlled passes allow contaminants to be burned off or displaced.
Double Pass Welding
For thicker rusty materials, consider double pass welding. The first pass partially burns off contaminants and provides a better surface for the second pass to bond correctly.
Keep Equipment Clean and Calibrated
Rust and dirt don’t just affect your base metal—they can clog your welding machine or nozzles, causing poor wire feeds and erratic arcs. Regular maintenance avoids these issues.
Ventilate Adequately
When welding over dirty or rusty materials, harmful fumes can be released. Make sure your workspace has enough ventilation or use a fume extractor to protect your health.
Common Challenges and How to Handle Them
Even with careful preparation and technique, welding over rusty or dirty metal sometimes presents additional challenges. Here are some common problems and their professional solutions:
| Problem | Cause | Solution |
|---|---|---|
| Porosity in Weld | Welding over rust or oil causing trapped gases | Improve cleaning and degreasing; reduce travel speed |
| Slag Inclusion | Incomplete slag removal between passes | Use chipping hammer to clean slag before next pass |
| Cracking | Contaminants causing weak weld metal | Use appropriate electrodes and control heat input |
| Unstable Arc | Dirty metal interfering with electrical contact | Increase amperage slightly; clean nozzle and contact tip |
When Should You Avoid Welding Over Rust or Dirt?

Though this article focuses on techniques to weld over rusty or dirty metal, it’s important to recognize when such welding might cause more harm than good. In critical applications—like pressure vessels, structural steel frameworks, or equipment exposed to heavy stress—welding over poorly prepared surfaces can lead to catastrophic failure.
In these cases, it’s best to take the time to properly clean the metal or even replace severely corroded parts instead of risking a compromised weld. Remember, welding should build strength, not introduce weak points.
Summary: Key Points to Remember
To conclude, welding over rusty or dirty metal is a common challenge but entirely manageable with the right approach. Here are the key takeaways:
- Rust and dirt weaken welds by causing contamination, porosity, and poor fusion.
- Use mechanical and chemical cleaning tools to prepare surfaces properly.
- Welding methods like stick welding tolerate rusty metal better than TIG.
- Maintain steady technique, control heat, and clean between weld passes.
- Always prioritize safety, ventilation, and proper protective gear.
- Know when to avoid welding and opt for replacement or thorough cleaning.
By following these guidelines, you can improve your welding quality and tackle rusty or dirty metal without fear—making you a more versatile and skilled welder in any situation.
Further Resources and Reading
If you want to deepen your knowledge or see these techniques in action, here are some excellent resources to explore:
- Lincoln Electric’s Welding How-To Guides
- Miller Welding Tips and Tricks
- WeldingPros: How to Weld Over Rusty Metal
Mastering the skill of welding over rusty or dirty metal opens the door to many projects and repairs you might have otherwise avoided. Happy welding, and stay safe!
