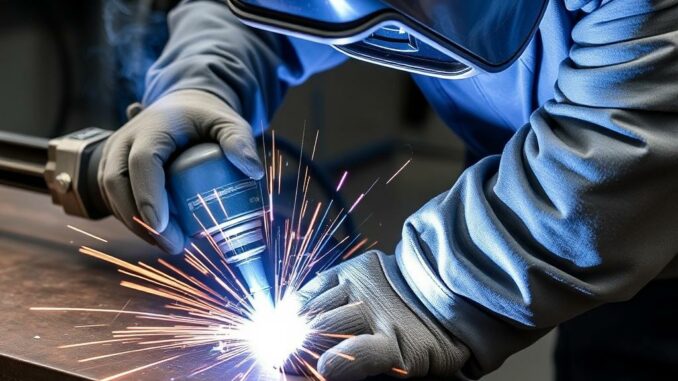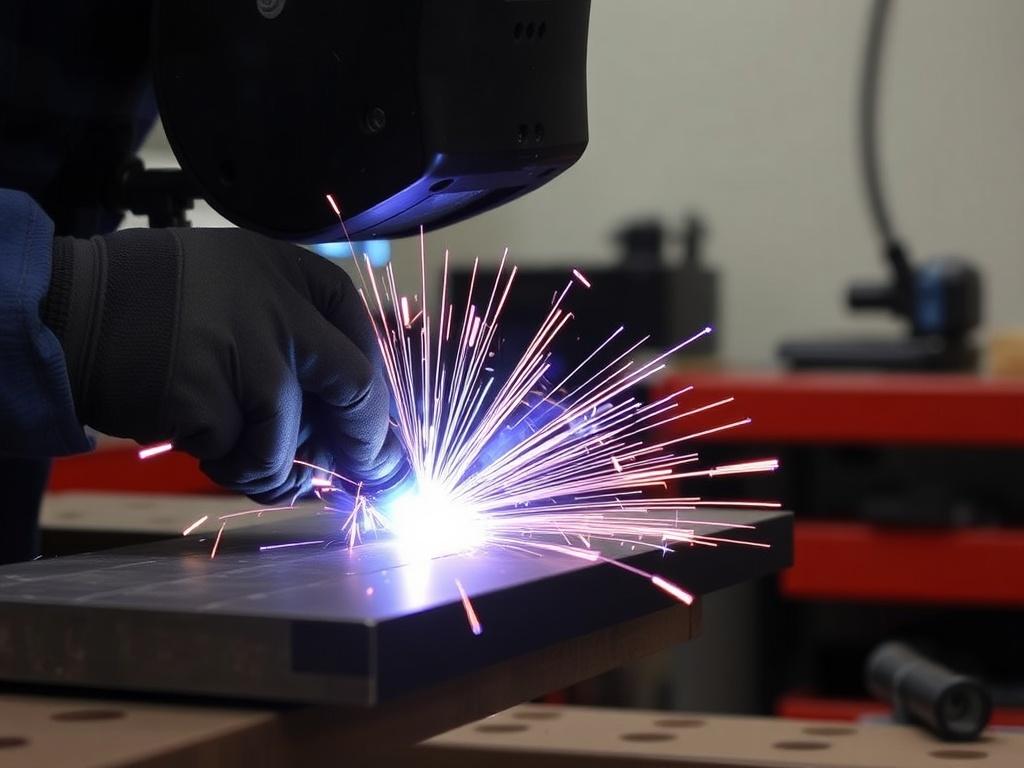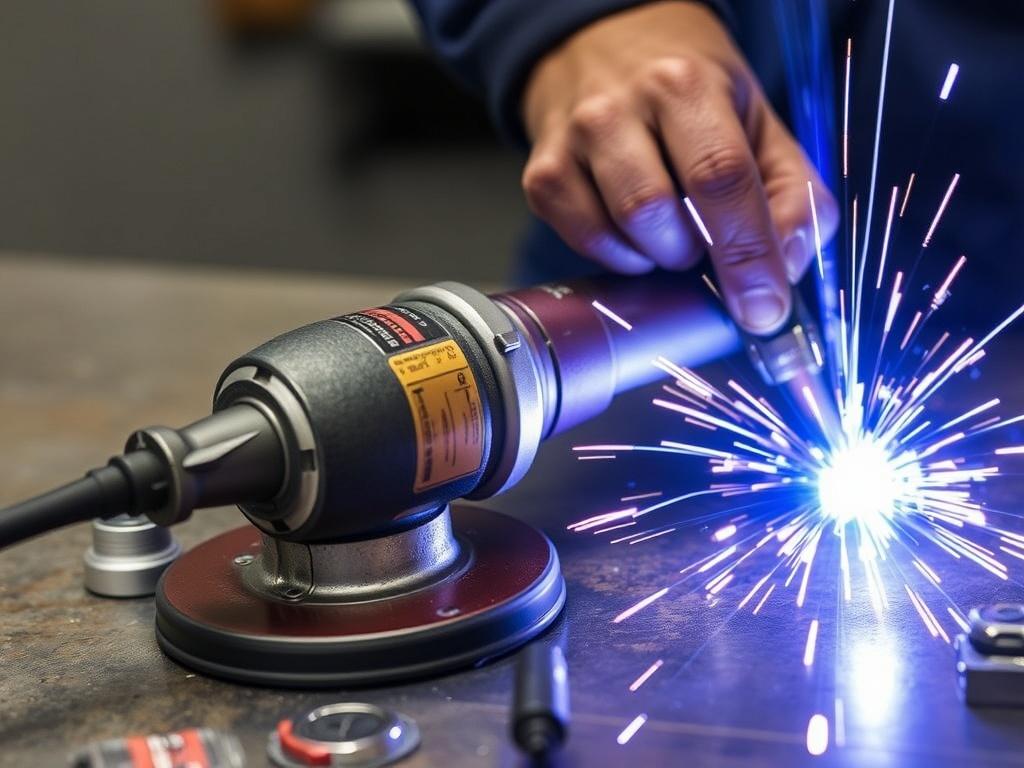
When it comes to metalworking, the quality of your welds can make or break your project. A rough, poorly finished weld doesn’t just look unprofessional; it can compromise the structural integrity and longevity of the entire piece. That’s why mastering the art of grinding and finishing welds is crucial for anyone who wants their metalwork to stand out, both in form and function.
In this comprehensive guide, we’ll dive deep into the techniques, tools, and best practices needed to achieve those smooth, clean, and professional weld finishes. Whether you’re a beginner just starting out or a seasoned welder looking to improve your weld appearance, this article has everything you need to transform your welds from rough seams into polished masterpieces.
Why Grinding and Finishing Welds Matter
At first, you might wonder why so much attention is given to grinding and finishing welds. After all, if the weld holds the metal pieces together strongly, why bother spending extra time making it look pretty? The answer lies in both aesthetics and performance.
Firstly, a visually clean weld signals professionalism and signifies that the welder has control and precision. In many industries, customers and inspectors expect a flawless weld finish as part of quality assurance. But beyond looks, grinding and finishing processes remove impurities, sharp edges, and excess material that could cause stress concentrations and eventual failure.
By carefully grinding your welds, you distribute stress more evenly across the joint, reducing the risk of cracks and fatigue. Furthermore, finishing steps like polishing or passivating can prevent corrosion by eliminating surface contaminants and creating a smoother, less reactive metal surface.
Common Applications Where Weld Grinding Is Essential
- Automotive Manufacturing: Vehicles require neat welds to ensure safety and aesthetics.
- Architecture and Structural Steel: Exposed metal structures demand visually appealing and corrosion-resistant welds.
- Food and Beverage Industry: Welds must be smooth to prevent bacterial buildup.
- Aerospace and Marine Engineering: Aircraft and ships benefit from flawless welds for both performance and inspection standards.
Clearly, grinding and finishing welds play a critical role across diverse fields. The next sections will detail how you can achieve superior weld finishes yourself.
Essential Tools for Grinding and Finishing Welds
Before you start polishing your welds to perfection, you need the right toolkit. Grinding and finishing welds involves both removing excess weld material and smoothing the surface, so the tools you use must be versatile, durable, and tailored to the job.
Grinding Tools
- Angle Grinder: A powerhouse for quickly removing large amounts of weld spatter and leveling uneven surfaces. Equipped with various grinding discs, it’s an indispensable tool.
- Die Grinder: Smaller and more precise, ideal for reaching tight corners or delicate finishes.
- Belt Grinder: Excellent for achieving fast material removal while maintaining a consistent grind across broad areas.
- Cut-Off Wheels: Sometimes used to trim excess weld bead before grinding.
Finishing Tools
- Sanding Discs and Flap Discs: Perfect for smoothing down the surface after initial grinding; flap discs combine grinding and sanding for efficient finish work.
- Wire Brushes: Both hand-held and wheel-mounted brushes help clean welds by removing rust and mill scale.
- Polishing Wheels and Compounds: For a mirror-like finish, polishing accessories can bring out the metal’s natural shine.
- Files and Hand Sanders: Offered for precision work, especially on edges or smaller welds.
Personal Protective Equipment (PPE)
Safety shouldn’t be overlooked during the grinding and finishing process. Always wear:
- Safety goggles or face shields to protect eyes from sparks and metal shards.
- Ear protection to guard against prolonged noise exposure.
- Respirators or dust masks to avoid inhaling harmful dust particles.
- Gloves to prevent cuts and burns.
Step-by-Step Process for Grinding and Finishing Welds

Now that you have the tools ready, it’s time to roll up your sleeves and get into the nitty-gritty of grinding and finishing welds properly.
Step 1: Inspect Your Weld
Start by examining the weld for defects such as cracks, slag inclusion, or porosity that could affect its strength. A good weld will be consistent in thickness and have sufficient penetration without excessive spatter.
Step 2: Remove Excess Weld Metal
Use an angle grinder with a grinding or cut-off wheel to trim away any oversized weld beads or spatter. Take care not to cut into the base metal, which might weaken the joint. This rough grind shapes the weld bead closer to the desired contour.
Step 3: Even Out the Surface
Select a flap disc or sanding disc on a grinder to smooth the weld bead’s surface. Work at a consistent angle and speed, gradually removing scratches or ridges. Overlapping passes ensure the surface blends seamlessly with adjacent metal.
Take your time in this stage, as uneven grinding can cause visible dips or marks once finished.
Step 4: Deburr and Refine Edges
After grinding the top surface, use a file, die grinder, or hand sanding block to smooth sharp edges along the welded joint. Not only does this improve safety by eliminating sharp metal edges, but it also enhances the visual transition.
Step 5: Clean the Weld Surface
Use wire brushes or solvents to remove dust, grease, and oxides from grinding. A clean surface sets the stage for finishing treatments like polishing or painting.
Step 6: Optional Polishing and Passivation
If a high-gloss finish is desired, apply polishing wheels with compounds to bring out metal brilliance. For stainless steel welds, passivation with an acid solution can restore corrosion resistance by dissolving surface contaminants.
Choosing the Right Grinding and Finishing Techniques for Different Weld Types
Not all welds are created equal, and neither should the finishing techniques. Let’s look at how grinding and finishing differ based on weld types and materials.
MIG (Metal Inert Gas) Welds
MIG welding often produces smooth, neat beads, but spatter is common. Grinding focuses on removing spatter and blending beads with the parent metal. Flap discs work well here for a quick finish.
TIG (Tungsten Inert Gas) Welds
TIG welds tend to be precise and clean with minimal spatter. Grinding is lighter, often just smoothing the bead and polishing for a shiny finish. Polishing compounds and buffing wheels can really make a TIG weld stand out.
Stick (SMAW) Welds
Stick welding sometimes results in rougher weld beads with slag. More aggressive grinding and cleaning might be necessary to remove slag and even out the weld appearance.
Materials Matter
Stainless Steel: Requires careful grinding to avoid heat discoloration. Use finer grit discs and passivation to maintain corrosion resistance.
Carbon Steel: More forgiving, allowing for aggressive grinding if needed. Final paint or coatings often protect the surface against rust.
Aluminum: Softer and more prone to gouging from grinding. Use light pressure, appropriate abrasives, and cleaned surfaces to get the best finish.
Detailed Comparison Table: Grinding and Finishing Options Based on Material and Weld Type
| Material | Weld Type | Grinding Tools Recommended | Finishing Techniques | Additional Tips |
|---|---|---|---|---|
| Stainless Steel | TIG | Flap discs, fine grinding wheels | Polishing wheels, passivation | Avoid overheating to prevent discoloration |
| Carbon Steel | MIG | Angle grinder, flap discs | Wire brush, paint or coating | Remove all spatter and clean before coating |
| Aluminum | Stick | Die grinder with non-ferrous wheels | Light sanding, polishing compounds | Avoid deep grinding marks that could trap moisture |
Common Mistakes to Avoid When Grinding and Finishing Welds
Even experienced welders sometimes slip up during grinding and finishing. Here are pitfalls that could diminish your weld quality and how to avoid them:
Grinding Too Deep or Quickly
Removing too much material weakens the weld or base metal. Proceed slowly and check progress frequently.
Using the Wrong Grit Disc
Starting with very coarse grit can leave scratches that are hard to remove later. Begin with medium or fine grit for a balanced finish.
Overheating the Metal
Grinding generates heat, which can cause discoloration or reduce the metal’s strength, especially in stainless steel and aluminum. Use cooling breaks or spray when needed.
Neglecting Surface Cleaning
Residual dust, grease, or slag will ruin finishes and coatings. Always clean the weld thoroughly before applying paint or polish.
Skipping Protective Gear
PPE is critical. Sparks and metal dust can cause serious injuries. Never compromise your safety for speed or convenience.
Tips and Tricks for a Professional-Grade Weld Finish Every Time

- Practice Patience: Grinding and finishing are as much art as science. Take your time to produce smooth, uniform surfaces.
- Keep Tools Sharp: Blunt wheels or discs drag and create rough edges. Replace abrasives regularly.
- Maintain a Consistent Angle: Typically around 15-30 degrees for grinding—this ensures even material removal.
- Test on Scrap Metal: Before working on your project, try grinding and finishing techniques to get a feel for the tools.
- Finish with Clean Hands: Oils and dirt transfer quickly to polished surfaces, dulling their appearance.
- Invest in Quality Materials: High-quality discs, brushes, and compounds deliver better results.
Conclusion: Elevate Your Metalwork With Expert Welding Finishes
Grinding and finishing welds truly separate amateur metalworkers from professionals. A smooth, clean weld finish not only enhances the visual appeal of any metal project but also contributes to its strength and durability. With the right tools, techniques, and attention to detail, you can transform rough weld beads into flawless joints that command respect and last for years.
Remember, welding is only half the battle—the finishing touches complete the craft. Whether working with steel, aluminum, or stainless steel, invest the time to master grinding and finishing welds, and you’ll see the difference in every piece you create.
So grab your angle grinder, select your flap discs wisely, and gear up safely—uniquely professional-looking welds are within your reach!
